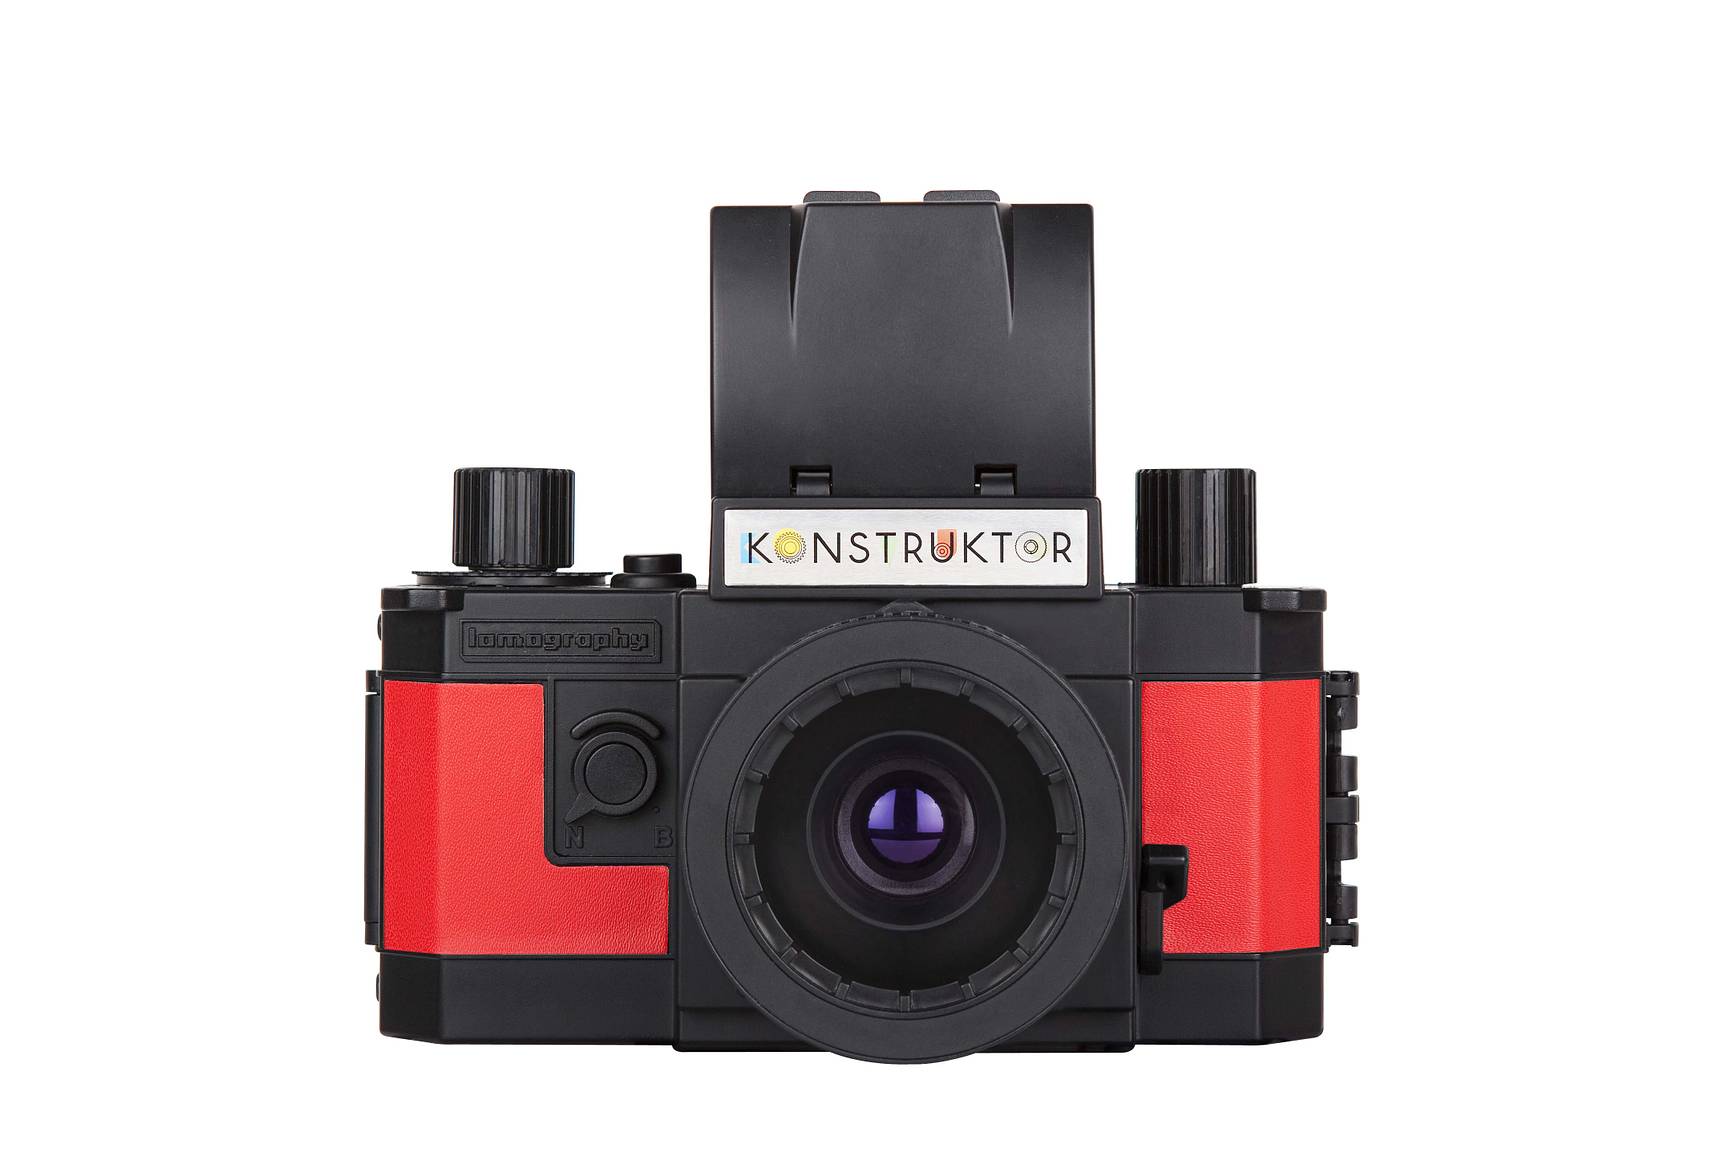
How To Build The Konstruktor Camera
2 21 Share TweetAre you the proud new owner of a Konstruktor camera? We bet you’re looking forward to shooting some amazing photos with this 35mm SLR camera. In this guide we take you through all the steps in building the camera to make the DIY process easy-peasy!
Laying The Foundations – Parts of the Camera
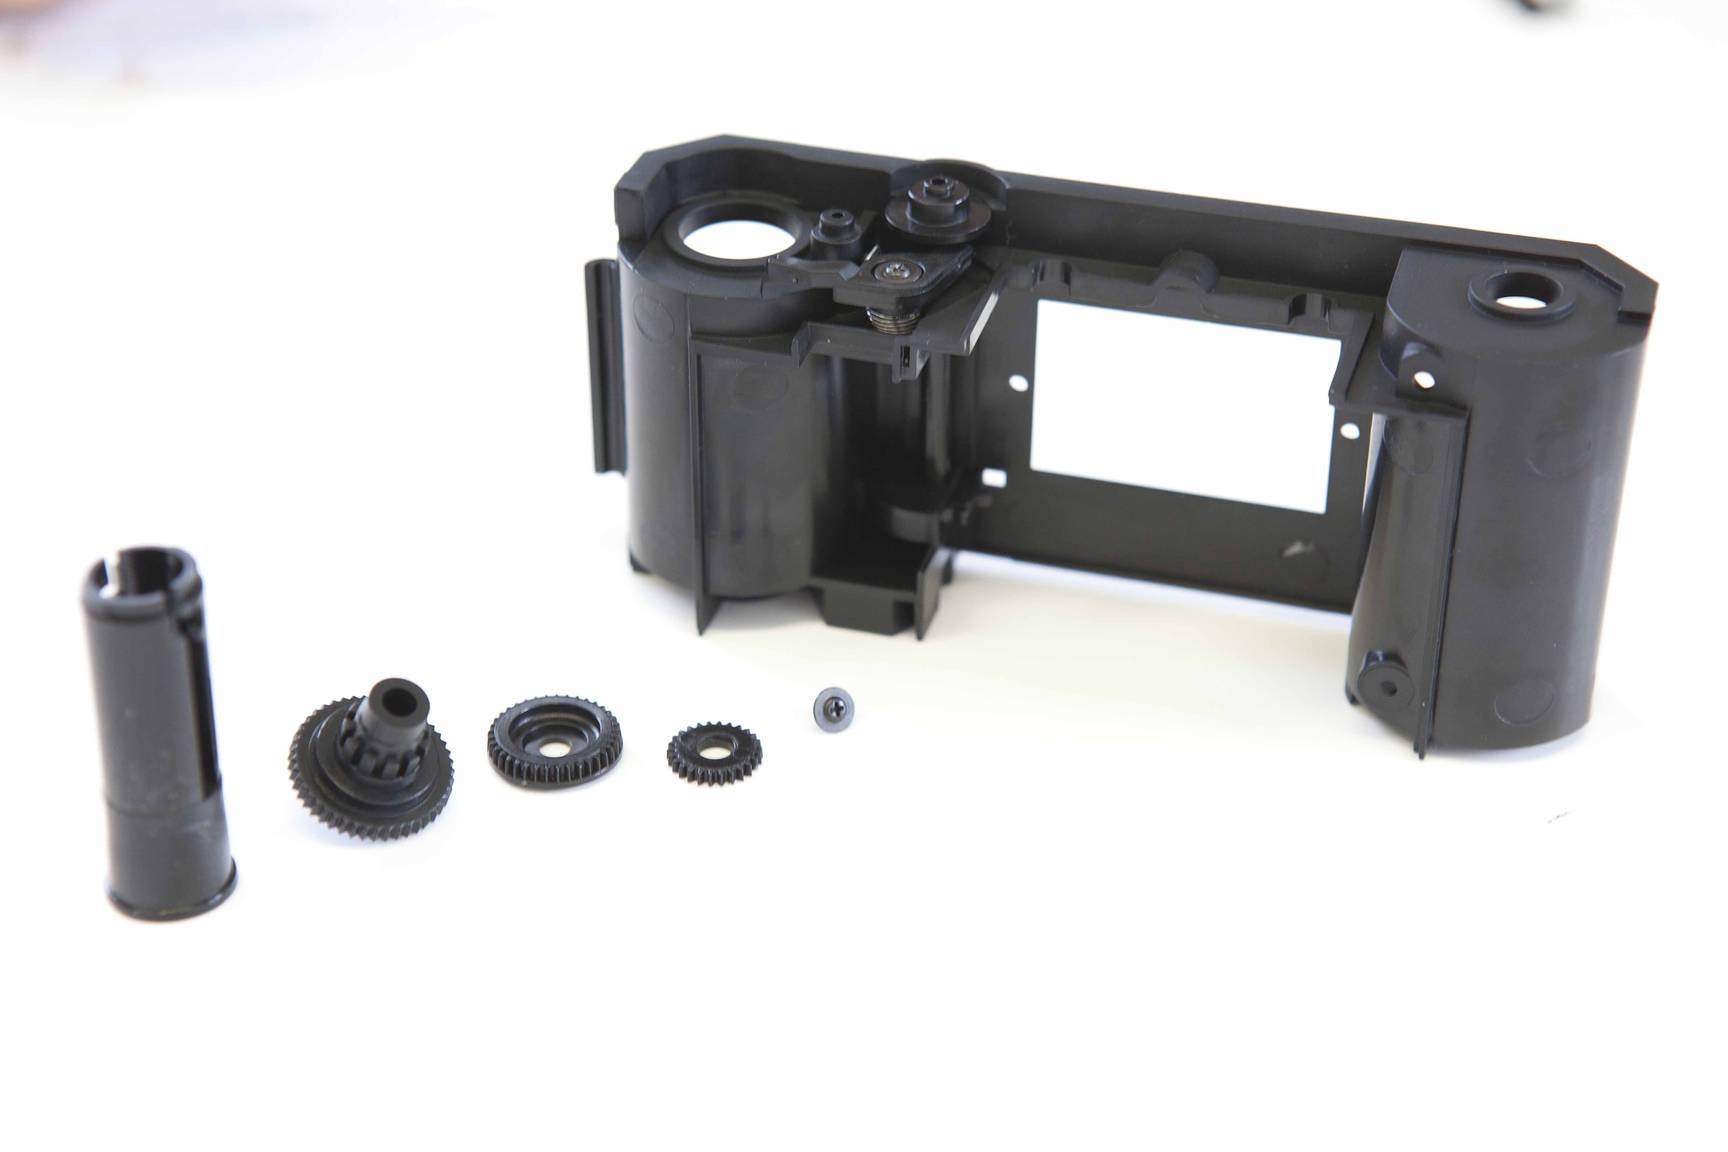
These diagrams show the parts of the camera


When you first get your Konstruktor, some parts of the camera will be attached to a grid, some are already assembled to make the building process easier for you and others are in smaller boxes contained in your Konstruktor package. The best thing to do when you start is to check all the camera parts you have and match them up with the diagram below. This will make it a lot easier to do each step in the building process!
Building The Lens


Parts Required: x4 S1 Screws, x2 S4 Screws, B16, B17, B18, A8
- Technical Diagram
- Make sure parts B16 and B18 are connected – Then screw 2 S4 screws into the sides of part B16
- Connect the combined part B16/18 to part B17
- Then connect the combined part B16/17/18 to part A8
- Attach 4 S1 screws into the top of part A8
- The completed lens
Building The Hood Viewfinder


Parts Required: A7, A12, A13, A14, P11, B27
- Technical Diagram
- Clip part P11 onto A12 and leave A12 so it is up/open
- Attached parts A13 and A14 on the side of the Hood Viewfinder
- Attach the magnifying glass B27 to part A7
- Clip A7 into P11
- The completed Hood Viewfinder
Building The Camera Body


Parts Required: x1 S2 Screw, P8, B9, B21
- Technical Diagram
- The parts you’ll need for this stage
- Spring B9 should be attached to the camera body B21 in this position
- Attach P8 to B9 – The top of spring B9 should be visible above P8 when connected
- Screw S2 into P8
- The completed mechanism


Parts Required: B20, B22, P4
- Technical Diagram
- The parts you’ll require for this stage
- Hold lever P8 so there is space to place in the part B22
- Place P4 in the slot at the bottom of the camera body – You need to push part B22 into the slot of P4


Parts Required: x1 Screw S2, P1, P2, P3, P9, B4
- Technical Diagram
- The parts you’ll need for this step
- Place part P1 into B4 – Then squeeze part B4 tightly together – the bottom of B4 must go into the small hole at the bottom of the camera body
- Screw S2 into P9 in the camera body – Once you have tightened the screw, P9 should still be able to rotate freely
- Attach P3 onto the camera body
- Rotate P4 in this direction until P8 goes into the locking position with P1 – A technical diagram demonstrating this step is shown here
- Keep P8 in locked position and add part P2 on top of P1
- The completed mechanism
Assembling Other Parts


Parts Required: x1 S3 Screw, A10, B7, B13, B
- Technical Diagram
- Parts required for the Rewind Key
- Connect A10 and B7 – Then screw S3 into the top to hold them together
- Place B13 onto the light chamber with the Matt surface face down
- Note the little lip of the sheet – this should match up with the lip on the light chamber to fit


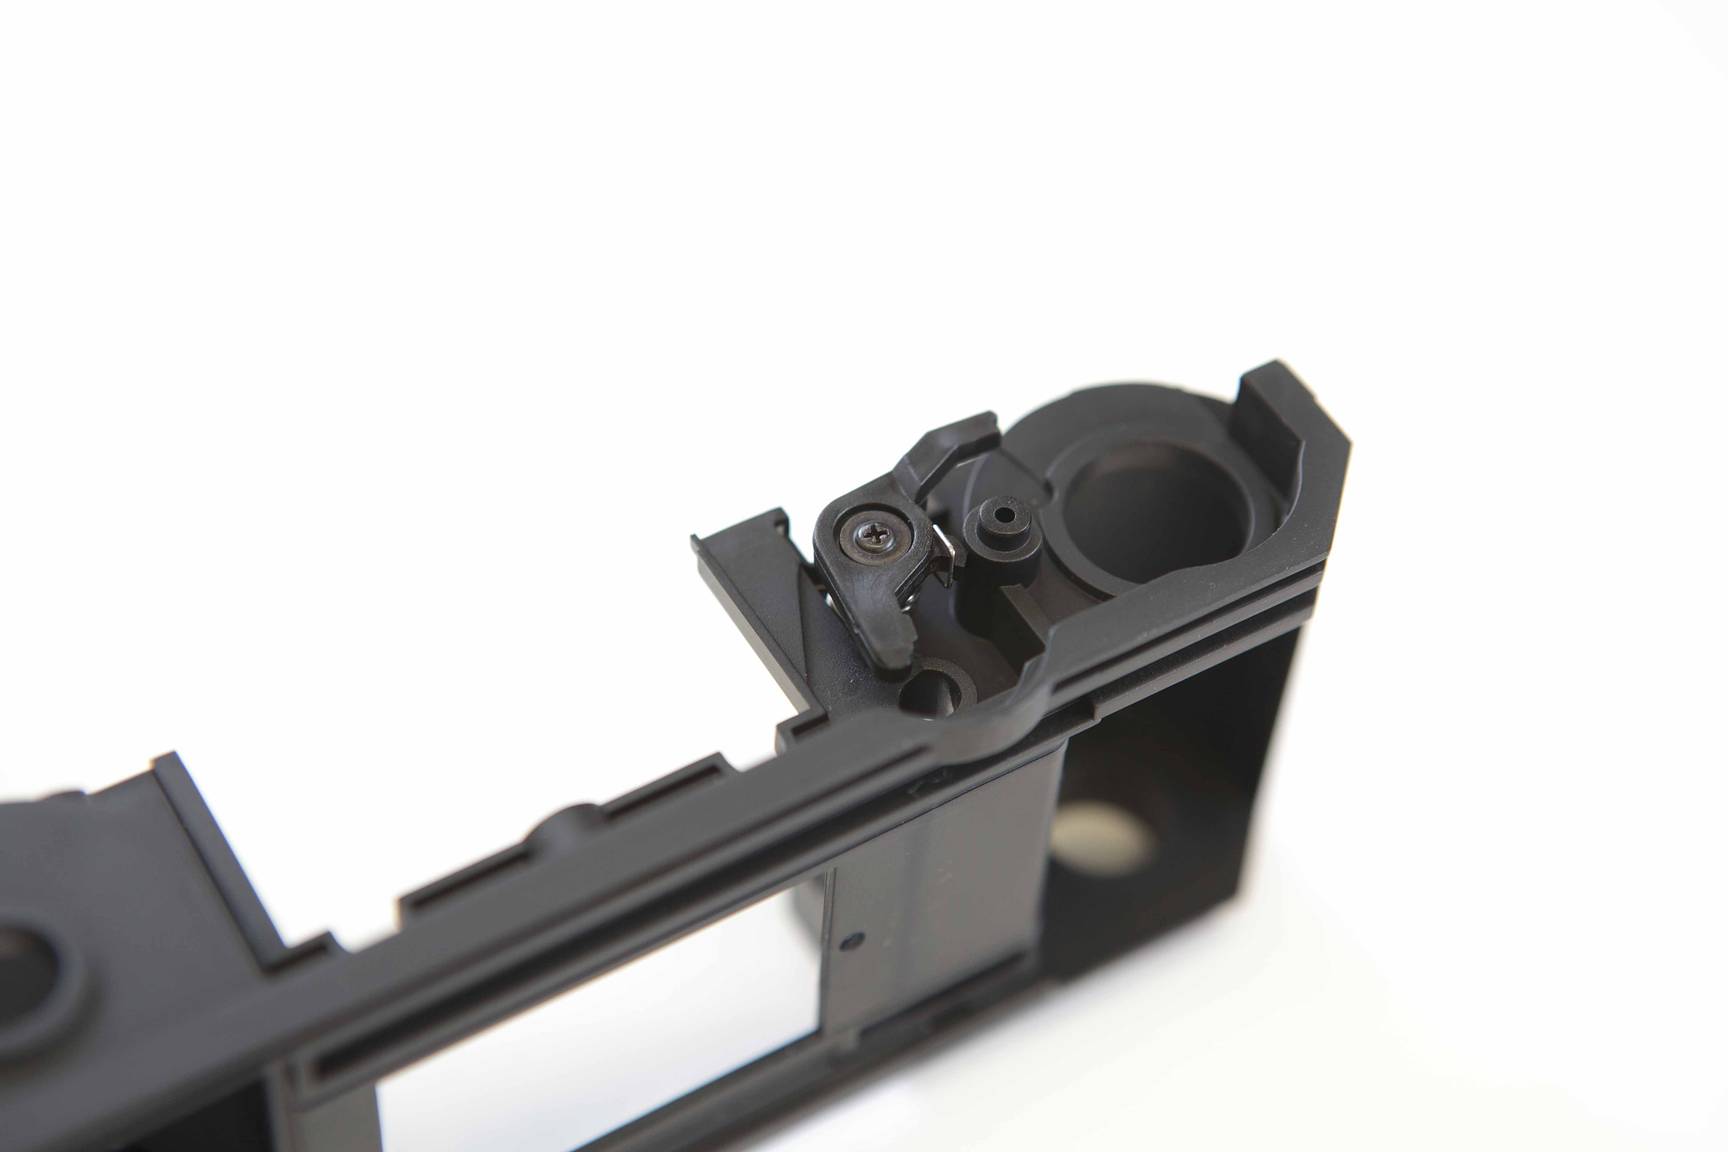
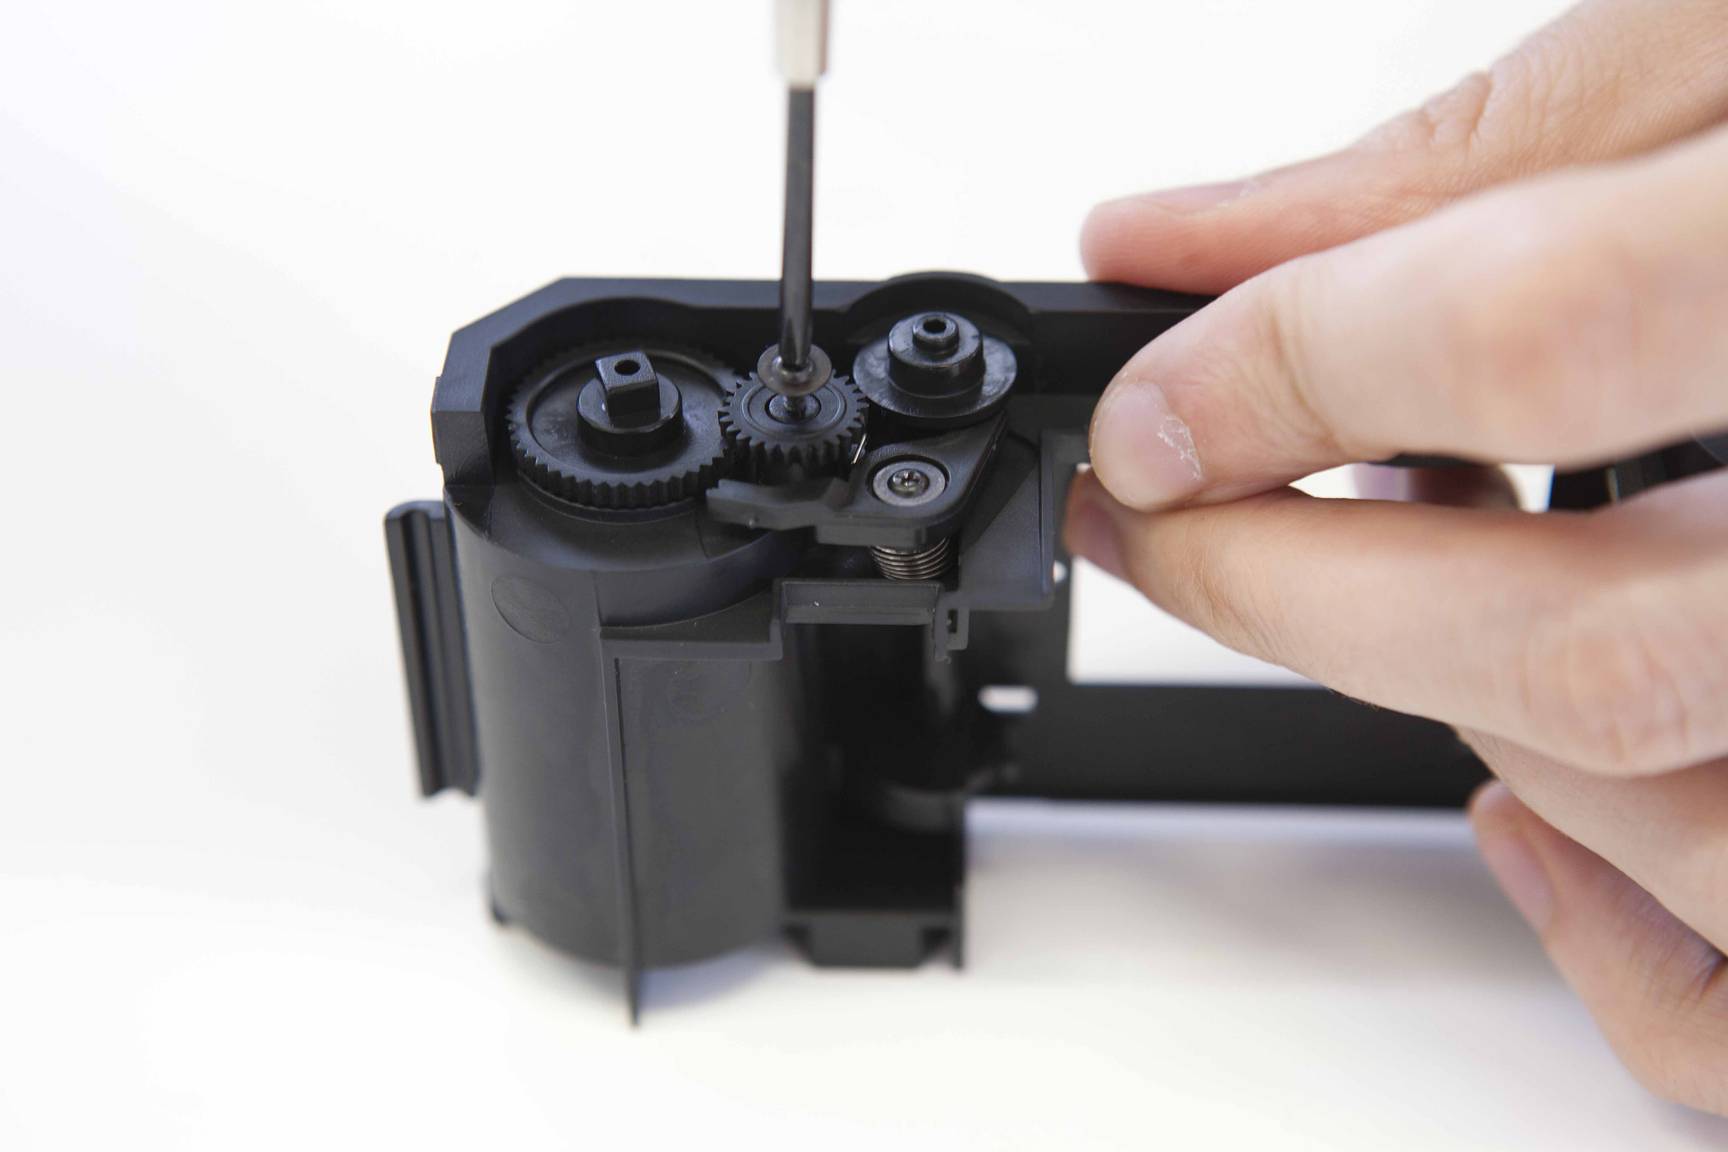
Parts Required: x4 S2 Screws, B10, B21, B24, P12, B25, B26
- Technical Diagram
- Parts Required for the next steps
- Attach parts B10 and B24 as shown in technical drawing
- Technical diagram showing the next steps
- Attach P12 as shown in the technical drawing. As part of this step, you must hook part B10 (the metal part you just attached to the camera body) onto P12; using a needle is a good trick for doing this more fiddly part of the assembling process!
- Attach x3 S2 screws into P12 to hold it in place
- Add part B26 as shown
- Screw x1 S2 screw into B26 to hold it in place
- Add B25
Putting Together The Pieces


Parts Required: P10 and front camera cover
- Technical Diagram
- Attach P10 to the camera cover as shown


Parts Required: x2 S3 Screws, B, B19, B21, N1
- Technical Diagram
Step a) – Attach B19 to the Film Cartridge part of the camera body
Step b) – Attach the Tripod Screw N1 to the camera body as shown
Step c) – Combine all the camera body parts as shown – Screw 2 S3 screws into the side of B21


Parts Required: x4 S3 Screws, A11, Camera body
- Technical Diagram
- Add A11 onto camera body
- Secure in place using x4 S3 screws
- The step after completion


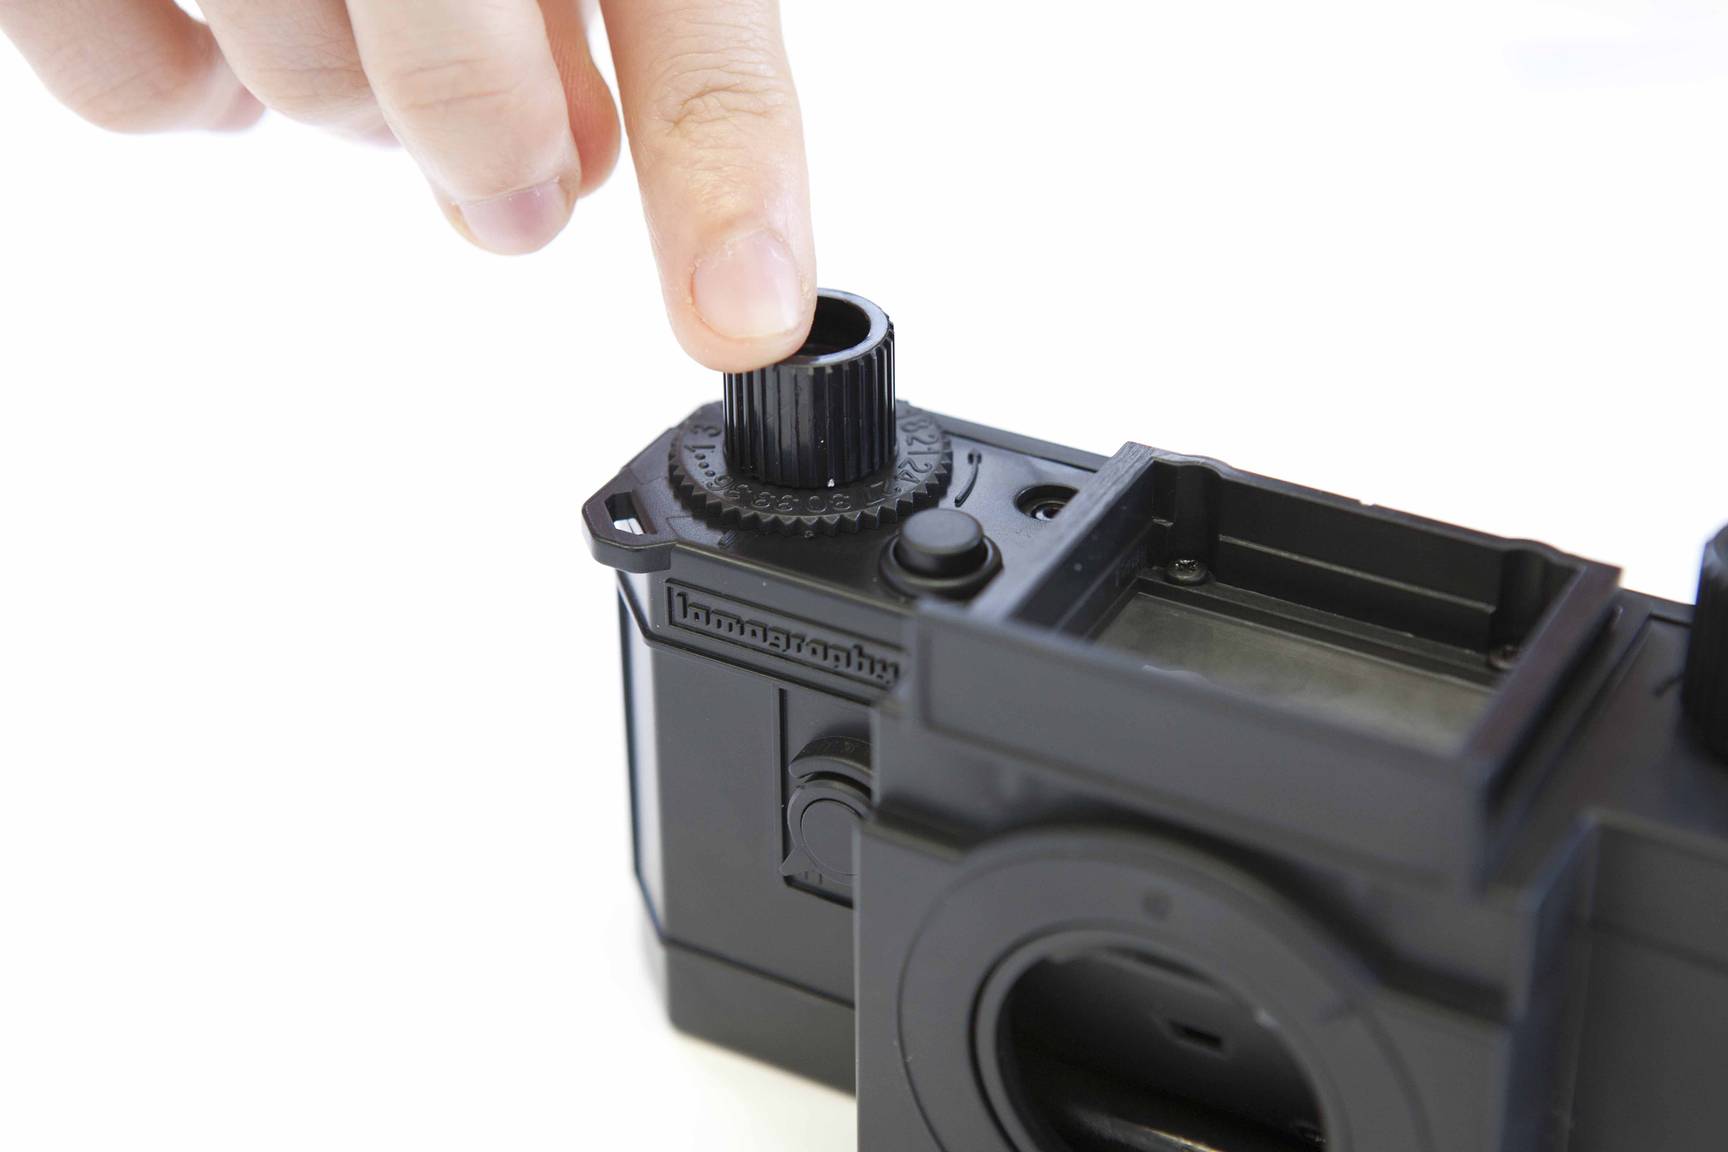

Parts Required: x1 S3 Screw, Rewind Key, A1, A4, A6, B30, B31
- Technical Diagram
- The parts required for this step
- Attach the Rewind Key to camera body
- Attach the Shutter Button A6
- Attach A4/B30 – Keep P8 in the locked position and move A4 to match
with ‘21’ - Attach spring B31 to A1 and push into the camera body
- Screw in place with S3


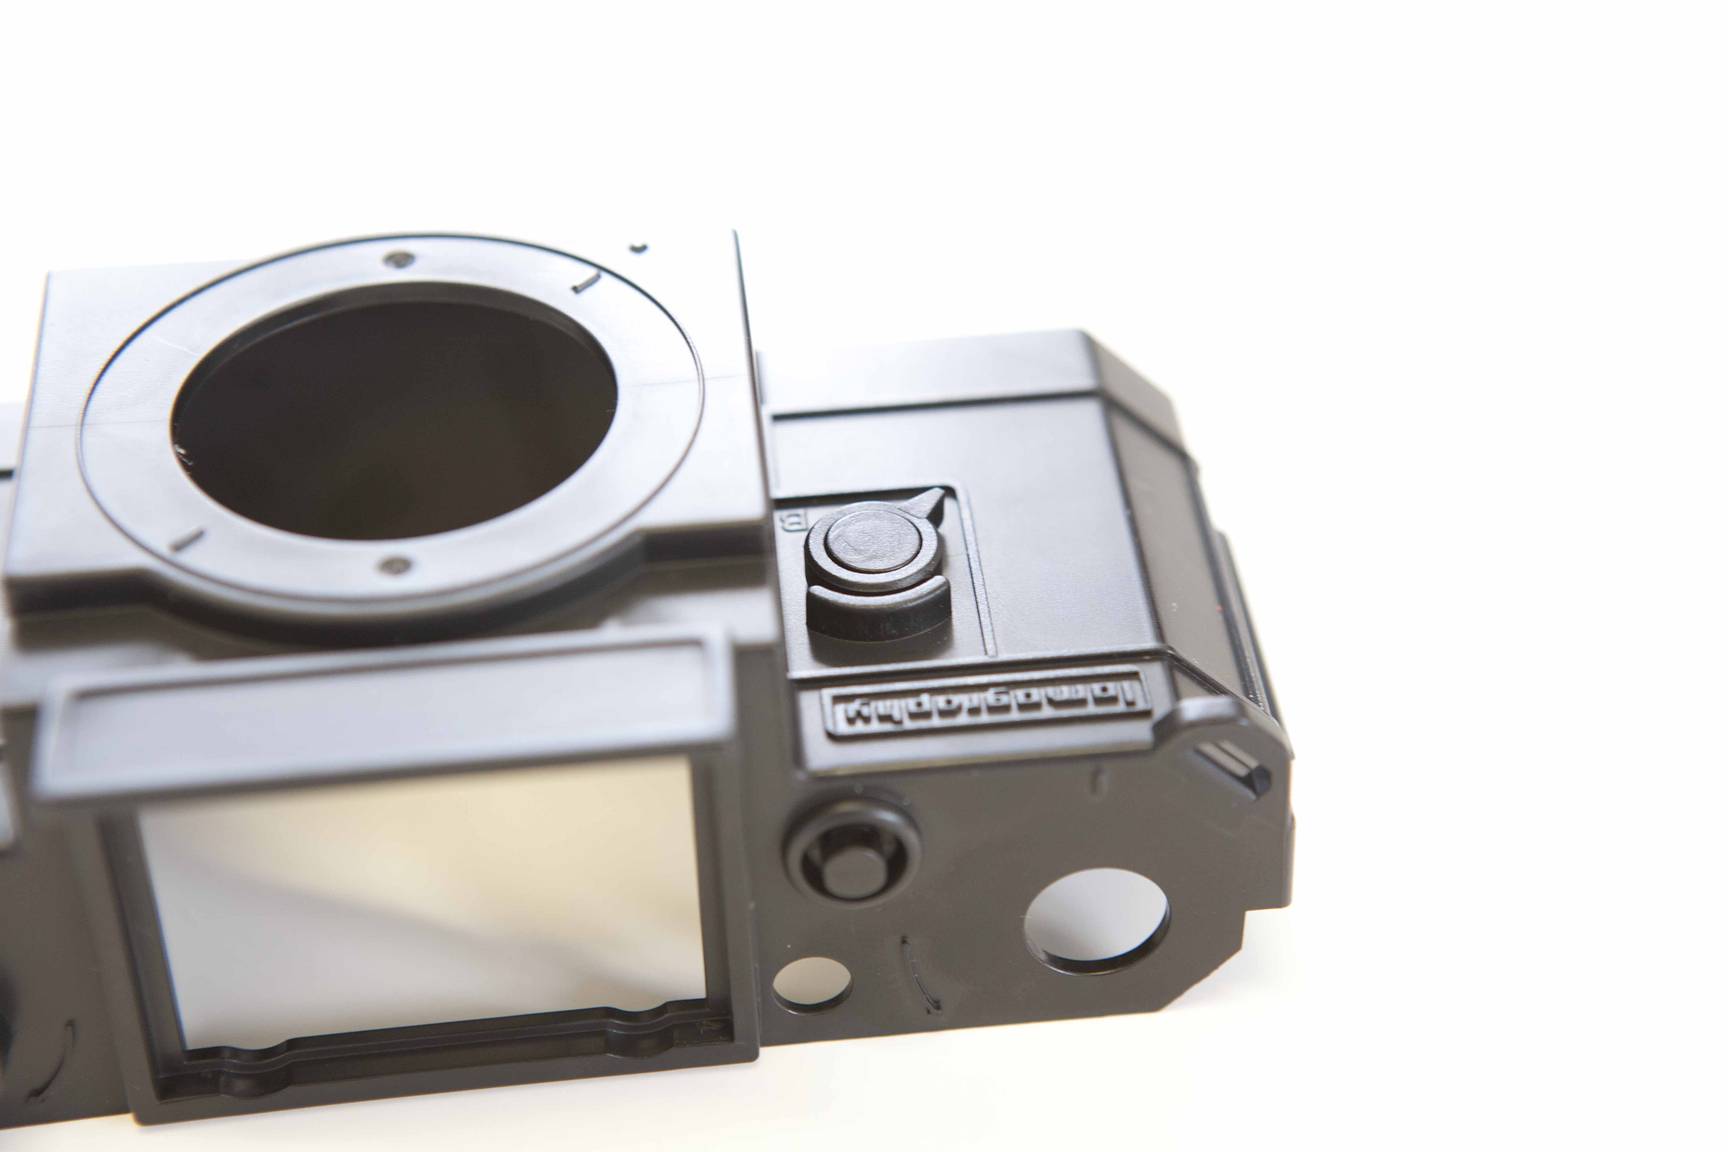
Parts Required: x1 S3 Screw, A5, Hood Viewfinder, Camera Body
- Technical Diagram
- Flip up all of the hood blades of the Hood Viewfinder then slide into the slot on the camera body
- Attach part A5 to camera body
- Screw into place with S3
Finishing Assembling


- Technical Diagram
- Hold the Lens Retainer and turn to lock the Taking Lens – the lens is only mounted correctly after the CLICK
- When inserting the Taking Lens into the camera body, match it with the Unlock Mark
Final Touches


Parts Required: B28, B29, Additional Stickers
- Technical Diagram
- Add this black sticker to complete the lens and hide screws
- Add the Konstruktor label and additional stickers to decorate your camera!
The Konstruktor is the world’s first Do-It-Yourself 35mm SLR camera. With it, you can easily build your very own camera from scratch. It’s the perfect tool for having fun whilst learning the exciting mechanics behind how analogue photography works. Get yours from the Online Shop or Lomography Gallery Stores Worldwide. Find out more about the camera on the Konstruktor Site.
tomas_bates tarafından, 2013-06-13 tarihinde ve #donanım #dersler #videolar #tipster #how-to-build-konstruktor #konstruktor #how-to-build başlığında yazıldı.


2 Yorum