How do I put together the pieces of the Konstruktor camera?


- Technical Diagram
- Attach P10 to the camera cover as shown


- Technical Diagram
- Step a) – Attach B19 to the Film Cartridge part of the camera body
- Step b) – Attach the Tripod Screw N1 to the camera body as shown
- Step c) – Combine all the camera body parts as shown – Screw 2 S3 screws into the side of B21


- Technical Diagram
- Add A11 onto camera body
- Secure in place using x4 S3 screws
- The step after completion


- Technical Diagram
- The parts required for this step
- Attach the Rewind Key to camera body
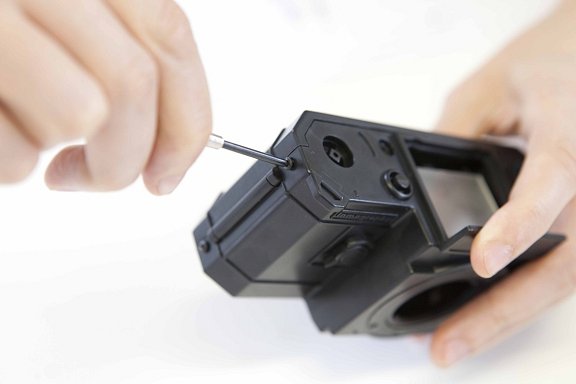
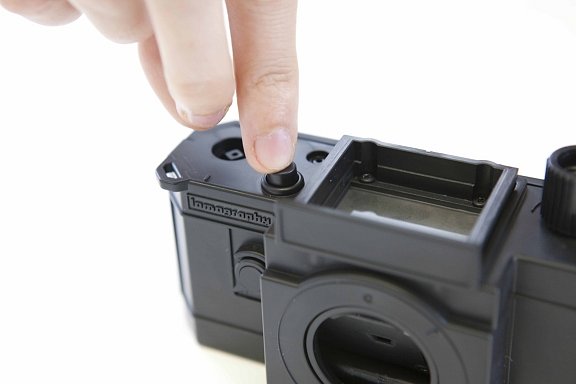
- Attach the Shutter Button A6
- Attach A4/B30 – Keep P8 in the locked position and move A4 to match
with ‘21’ - Attach spring B31 to A1 and push into the camera body
- Screw in place with S3
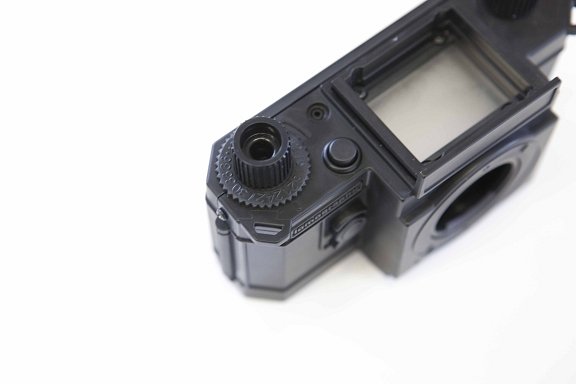
- The completed mechanism
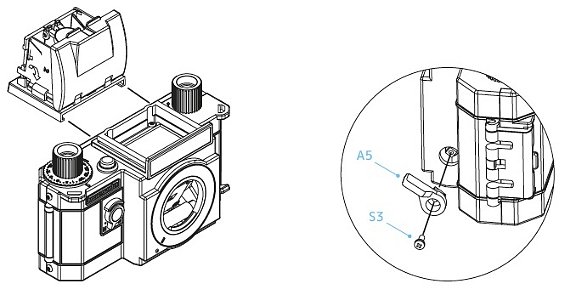


- Technical Diagram
- Flip up all of the hood blades of the Hood Viewfinder then slide into the slot on the camera body
- Attach part A5 to camera body
- Screw into place with S3
Here’s a video on how to put the pieces of the camera:
Speed building the Konstruktor:
Visit the Konstruktor microsite or download the Konstruktor Instruction manual here.
You can find the Konstruktor camera in the Online Store.
#camera #konstruktor etiketlerinde 2013-06-05 tarihinde yazıldı